Written scope
Photos and price before we cut
Ceiling Pipe Replacement Fort Pierce FL is the permanent fix when a ceiling pipe joint leak, corroded pipe, or burst pipe keeps soaking your drywall. We cut out the failed section, install new copper or PEX, pressure-test the line, and hand you a dry, code-correct ceiling. If you have a ceiling water stain in Fort Pierce, FL, call (772) 262-4590 and we will get a technician out the same day.
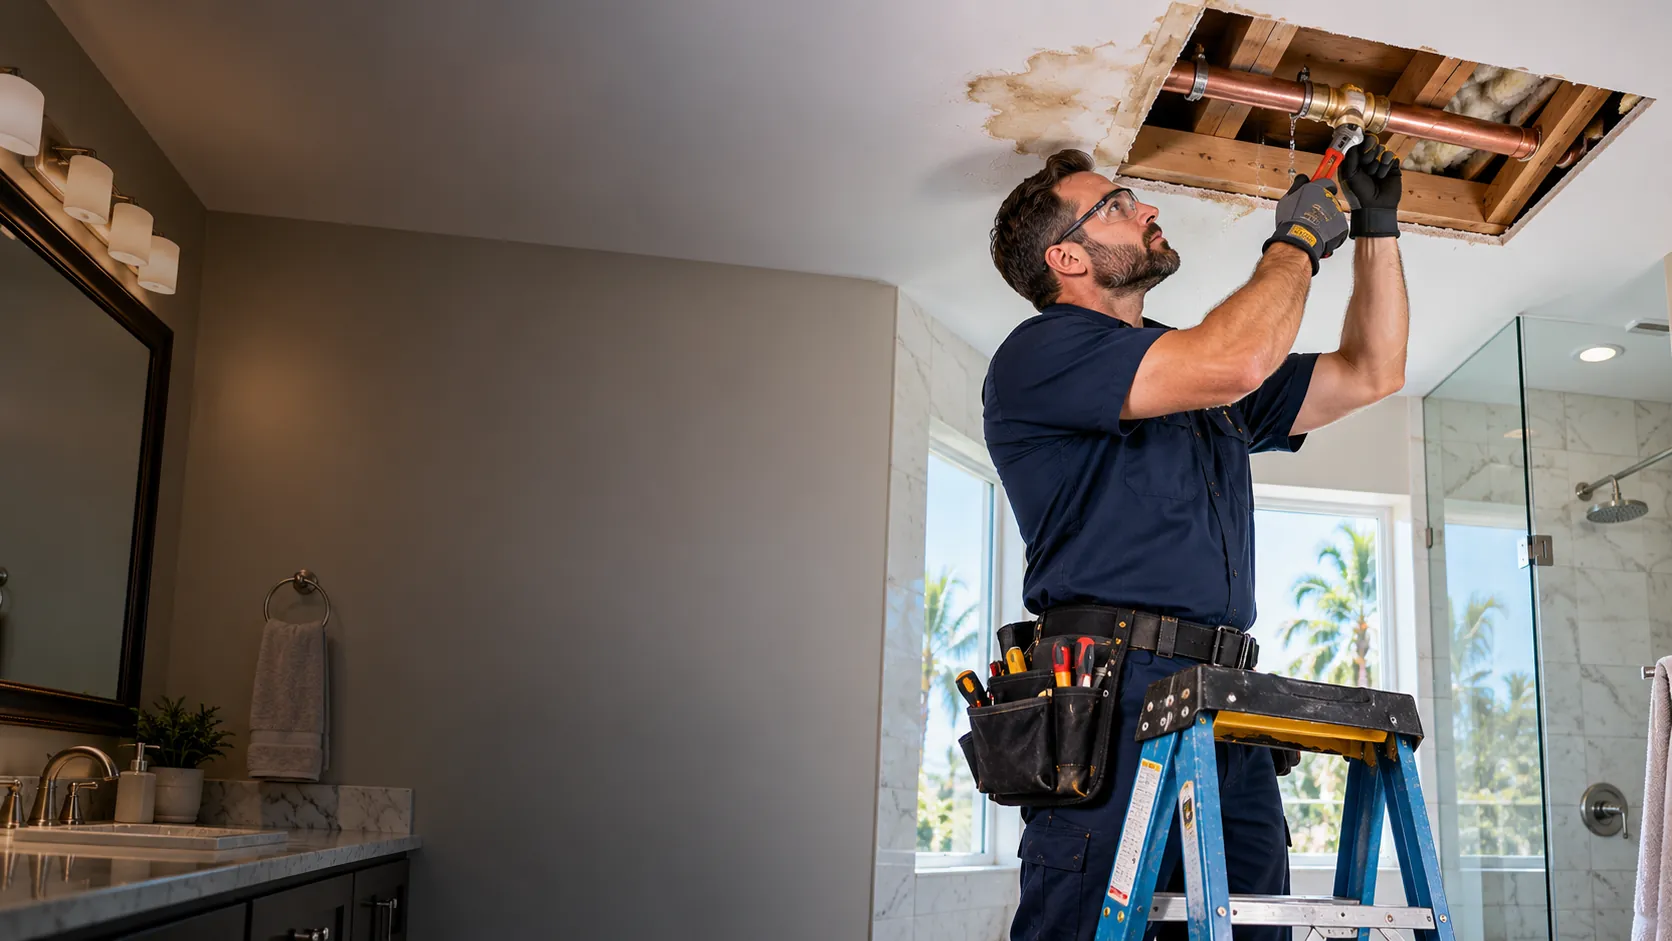
Every ceiling pipe replacement starts with diagnosis and ends with a pressure test. Here is what is covered in a standard job, and what we price separately if your situation needs it.
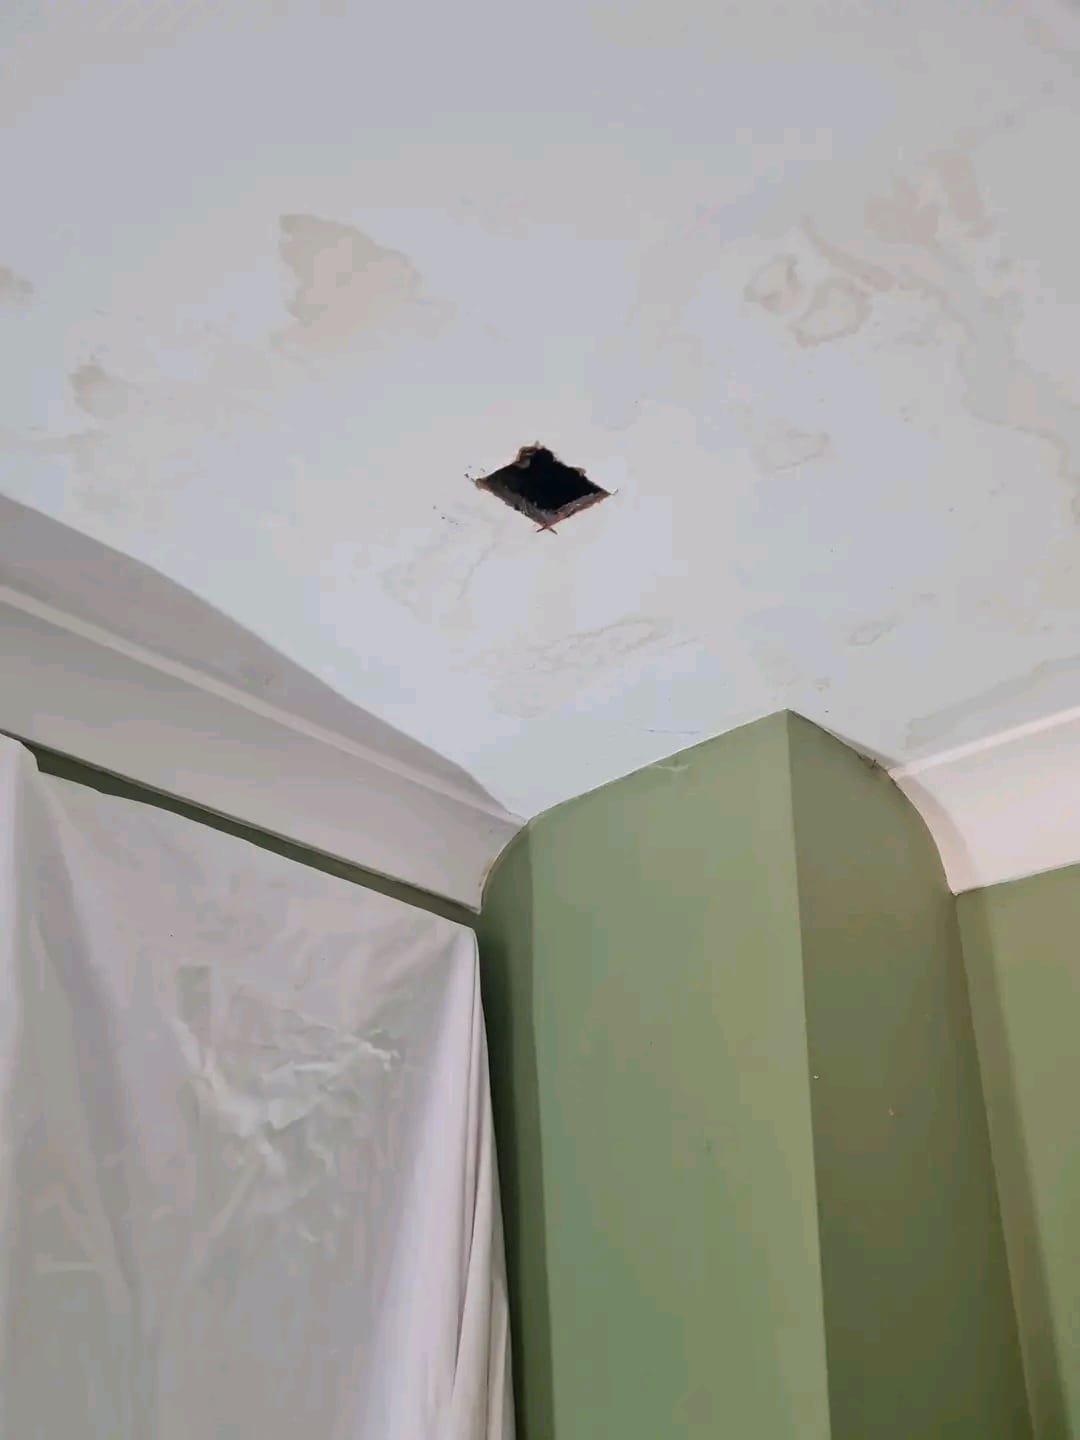
We replace failed ceiling pipe in houses, condos, and duplexes across Fort Pierce. You get a dry ceiling, a pressure-tested line, and photos of the work before it is closed up.
We replace ceiling pipe in rental units, small offices, and retail spaces around Fort Pierce. Work is scheduled around tenants so business keeps running while we fix the line.
Ceiling Pipe Replacement Fort Pierce FL is the removal of a failed water pipe above your ceiling and the installation of a new pipe in its place. We shut off the water, cut an access opening with a drywall saw, and inspect the line with a borescope camera to see exactly how far the corrosion or joint leak runs. Then we cut out the bad section with a pipe cutter, install new copper or PEX tubing, and pressure-test every joint before closing the ceiling. Most jobs take four to eight hours.
Fort Pierce homes see this problem more than most. The salt air off the Indian River corrodes copper pipe from the outside in, and the summer heat pushes attic temperatures past 130 degrees, which weakens older CPVC pipe fittings. If you have a ceiling water stain, a spike in your water bill, or a hidden pipe leak you cannot trace, a Ceiling Pipe Replacement in Fort Pierce, Florida is usually cheaper than patching drywall every year. Call us for same-day Ceiling Pipe Replacement Fort Pierce.
We replace the failed ceiling pipe, test it, and close the ceiling dry.
We keep the mess contained and the timeline clear. Here is exactly what happens from the first call to the final walkthrough.
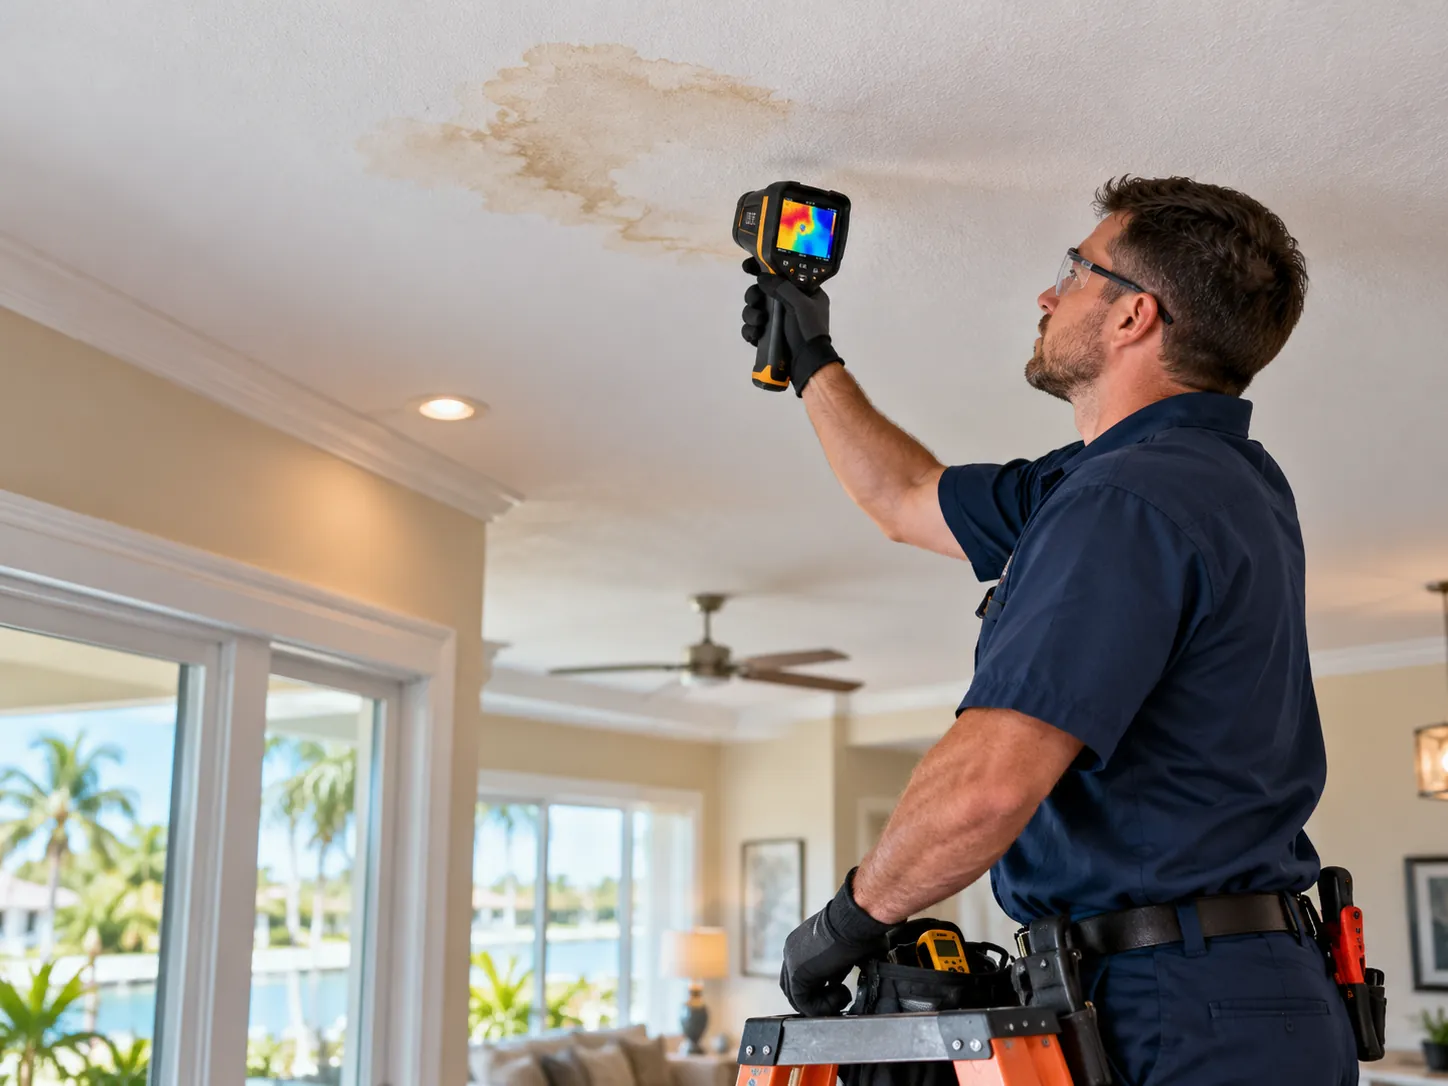
We start with acoustic leak detection and a thermal imaging camera to confirm the leak is in the ceiling pipe and not a shower drain leak or toilet overflow leak above it. You get a written scope and a flat price before we cut anything. This takes 30 to 45 minutes.
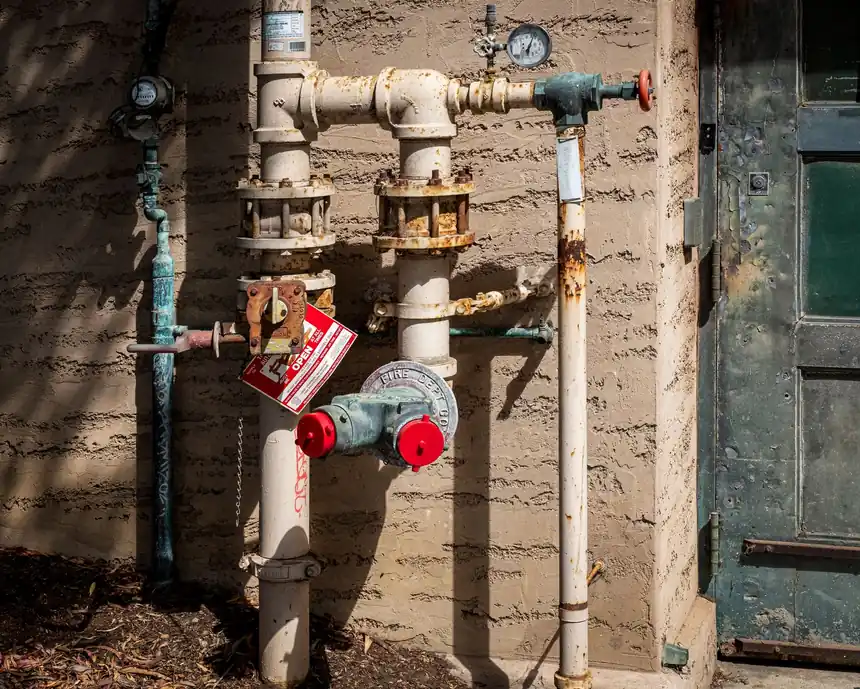
We lay drop cloths, cut a clean access panel with a drywall saw, and drain the line. A moisture meter tells us how far the wet zone extends so we only open what we need to. Most access panels are 12 by 12 inches.
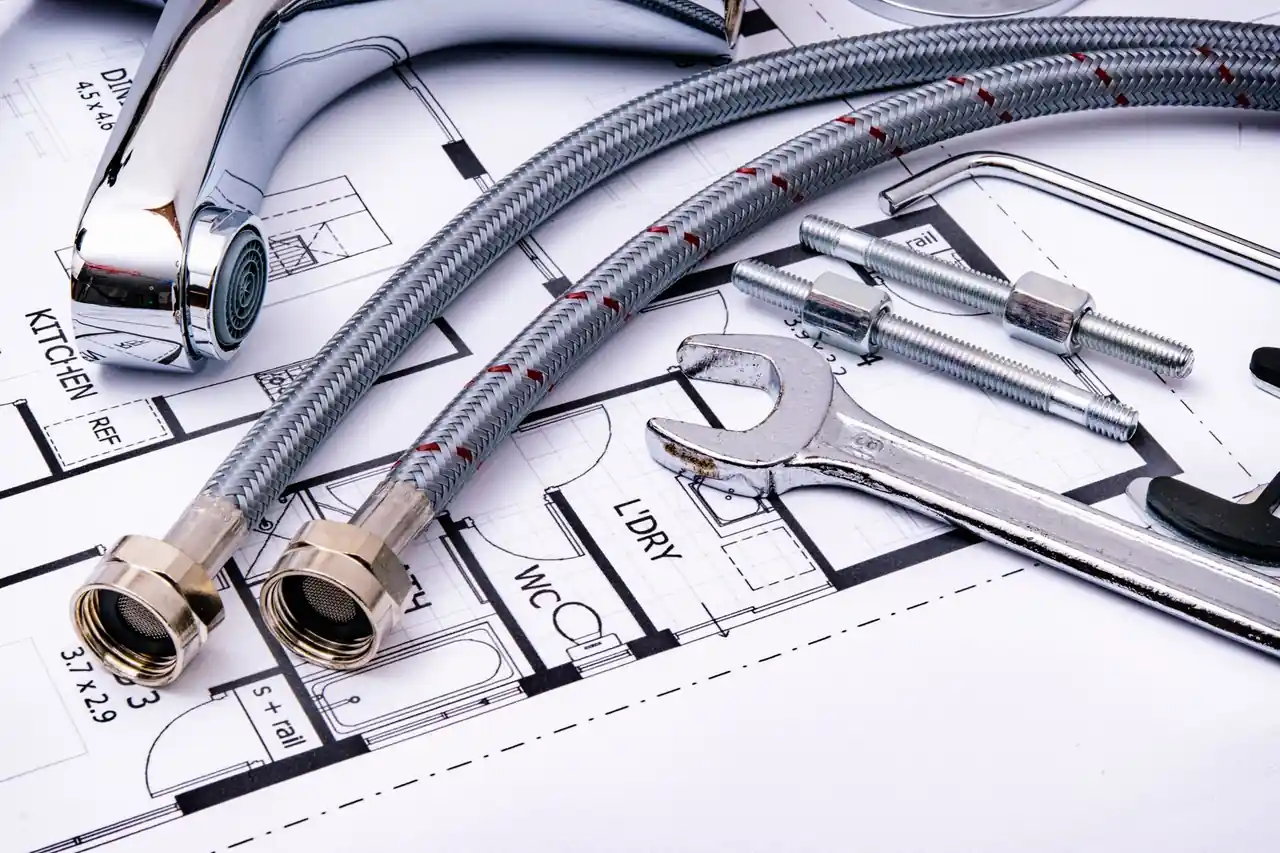
We cut out the failed section with a pipe cutter or RIDGID press tool, depending on the material. If the pipe is copper, we inspect the inside for corrosion. If it is CPVC or PEX, we check the fittings for stress cracks. This step runs one to two hours.
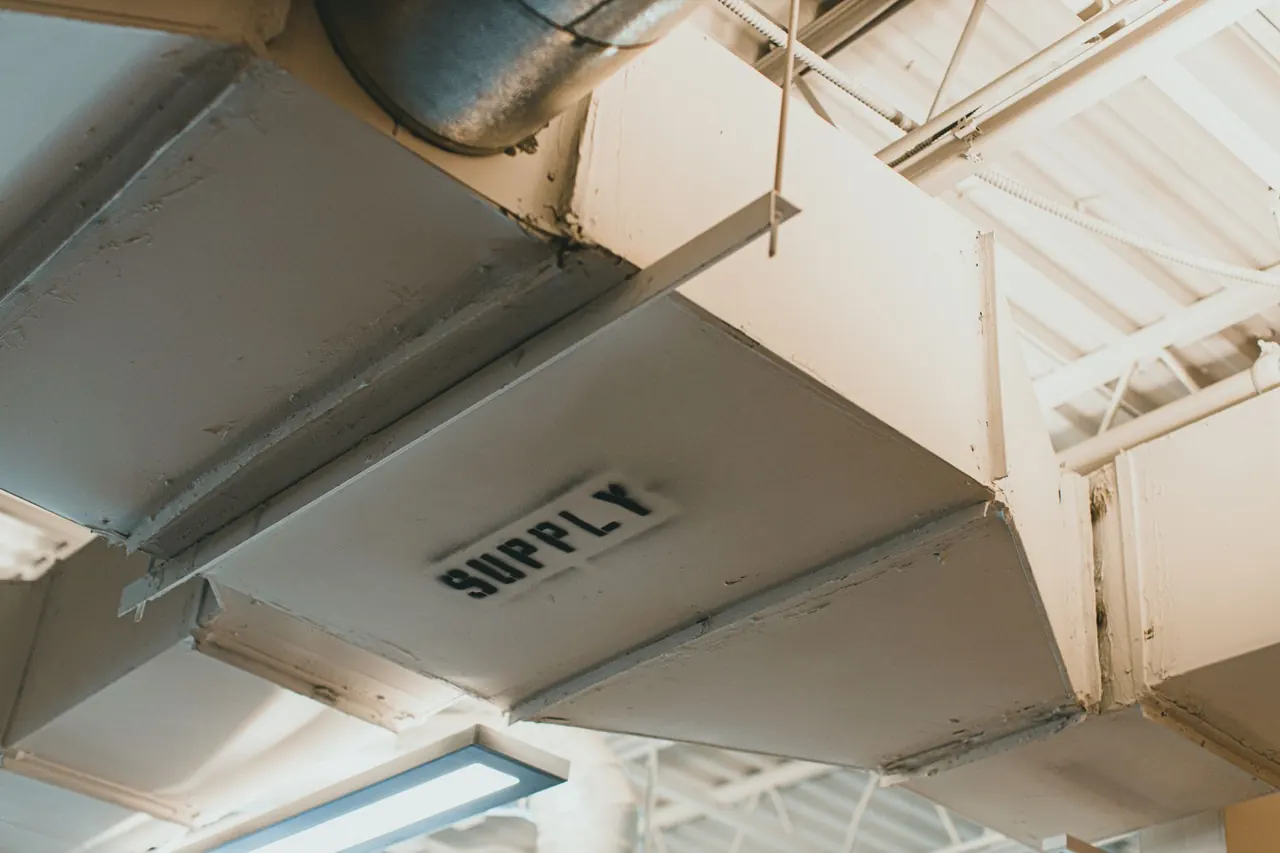
We install new copper pipe or PEX tubing with SharkBite or Uponor fittings, seal every joint with Teflon tape and pipe joint compound, and insulate the run. All work follows the Uniform Plumbing Code and Florida Building Code. This is the longest step, usually two to four hours.
We pressure-test the new line at 100 PSI for 30 minutes, then run every fixture on that branch. Once it holds, we close the access panel and texture the drywall. You get photos of the repair before the ceiling went back up.
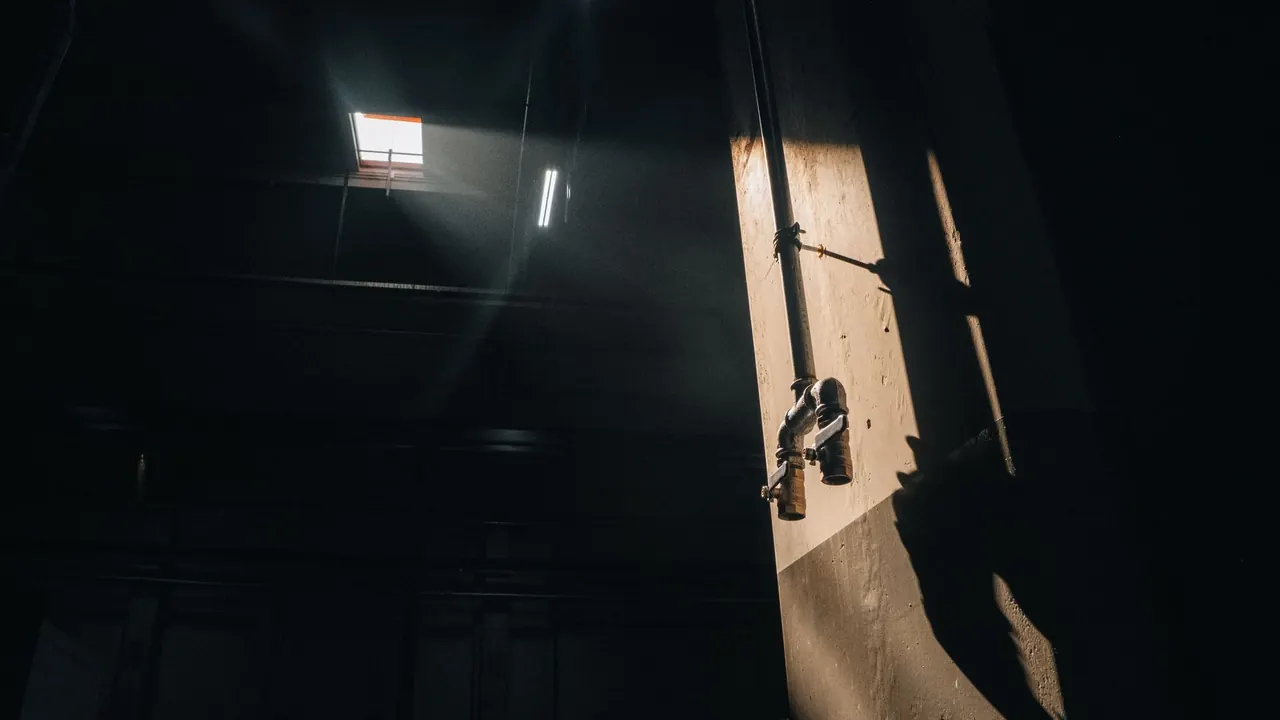
Finds temperature differences behind drywall that point to a hidden pipe leak. Lets us open the ceiling in the right place instead of guessing.
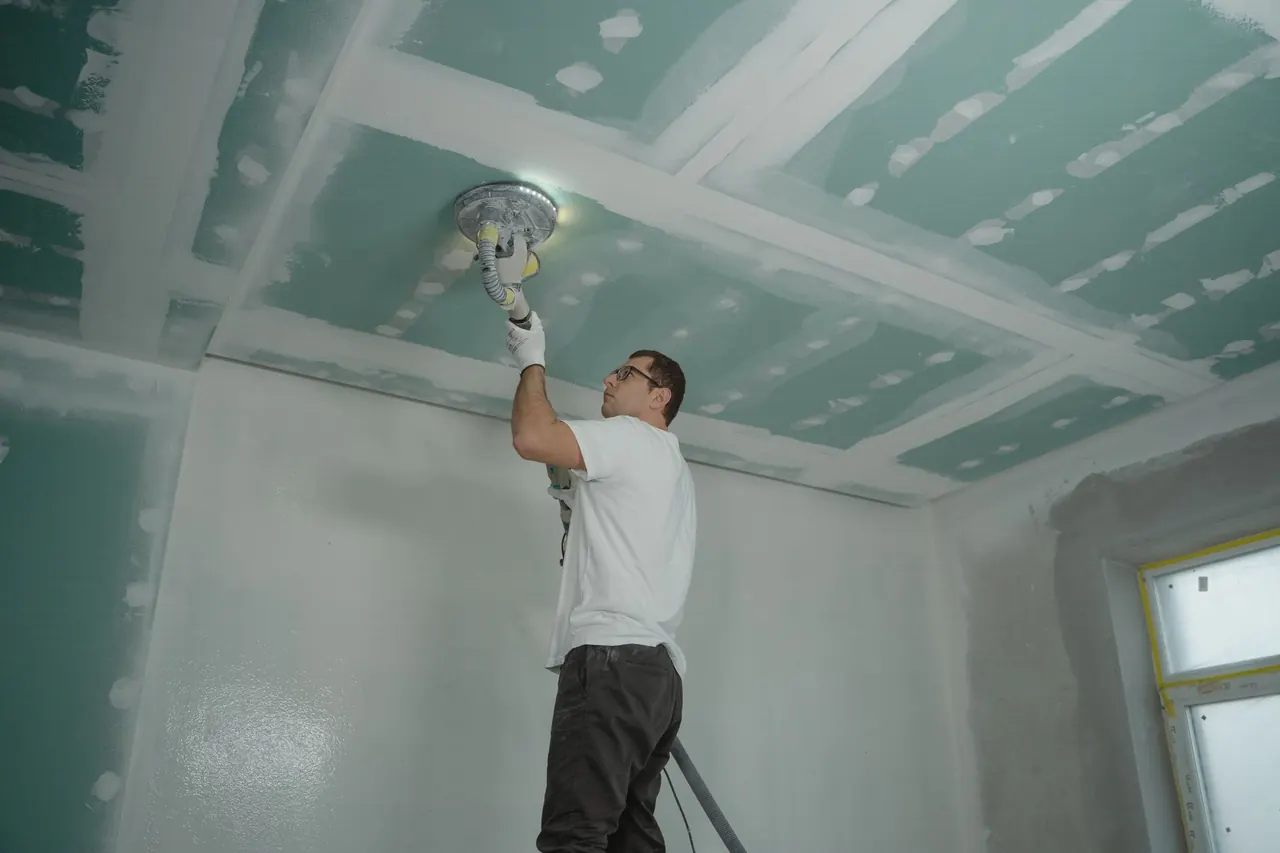
Listens for the sound of water escaping a pressurized line. Confirms the leak is in the ceiling pipe and not a drain or fixture above it.
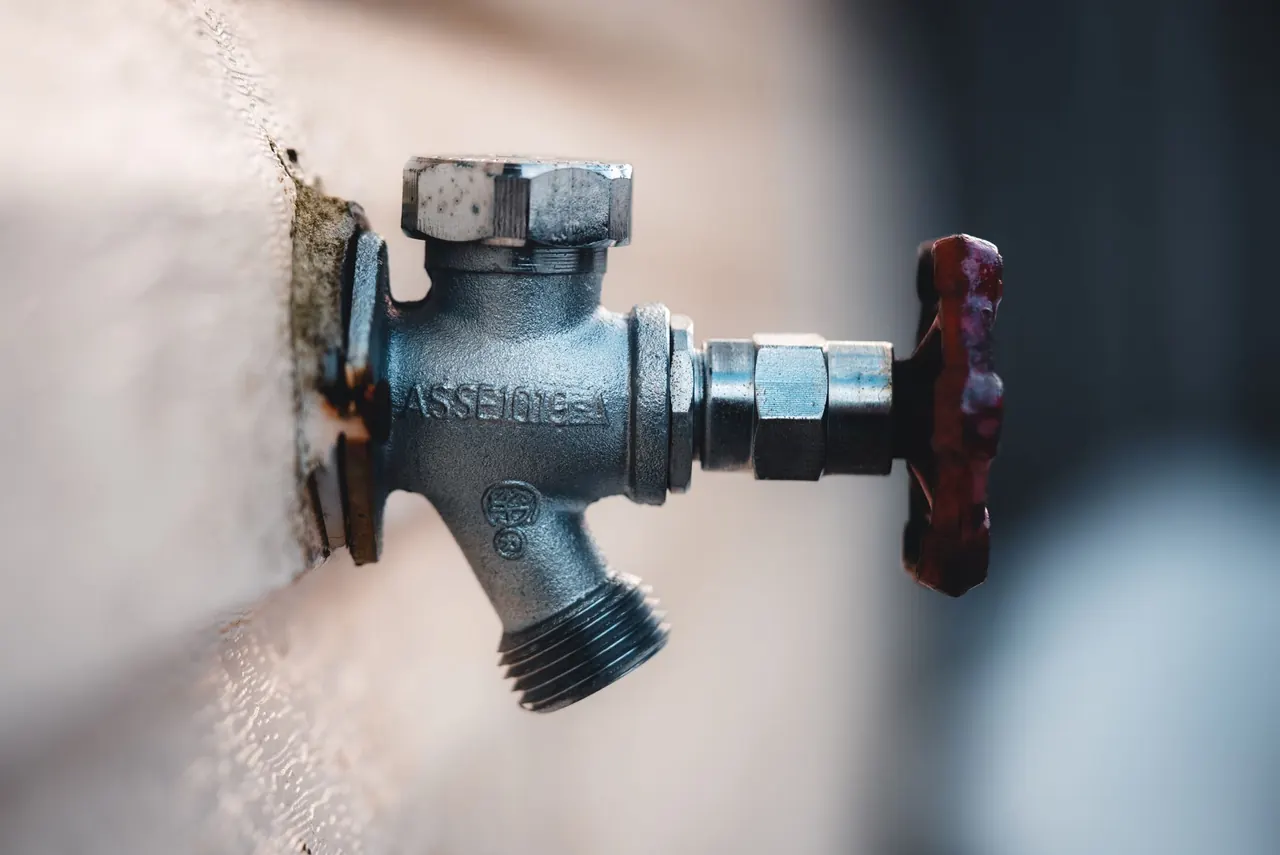
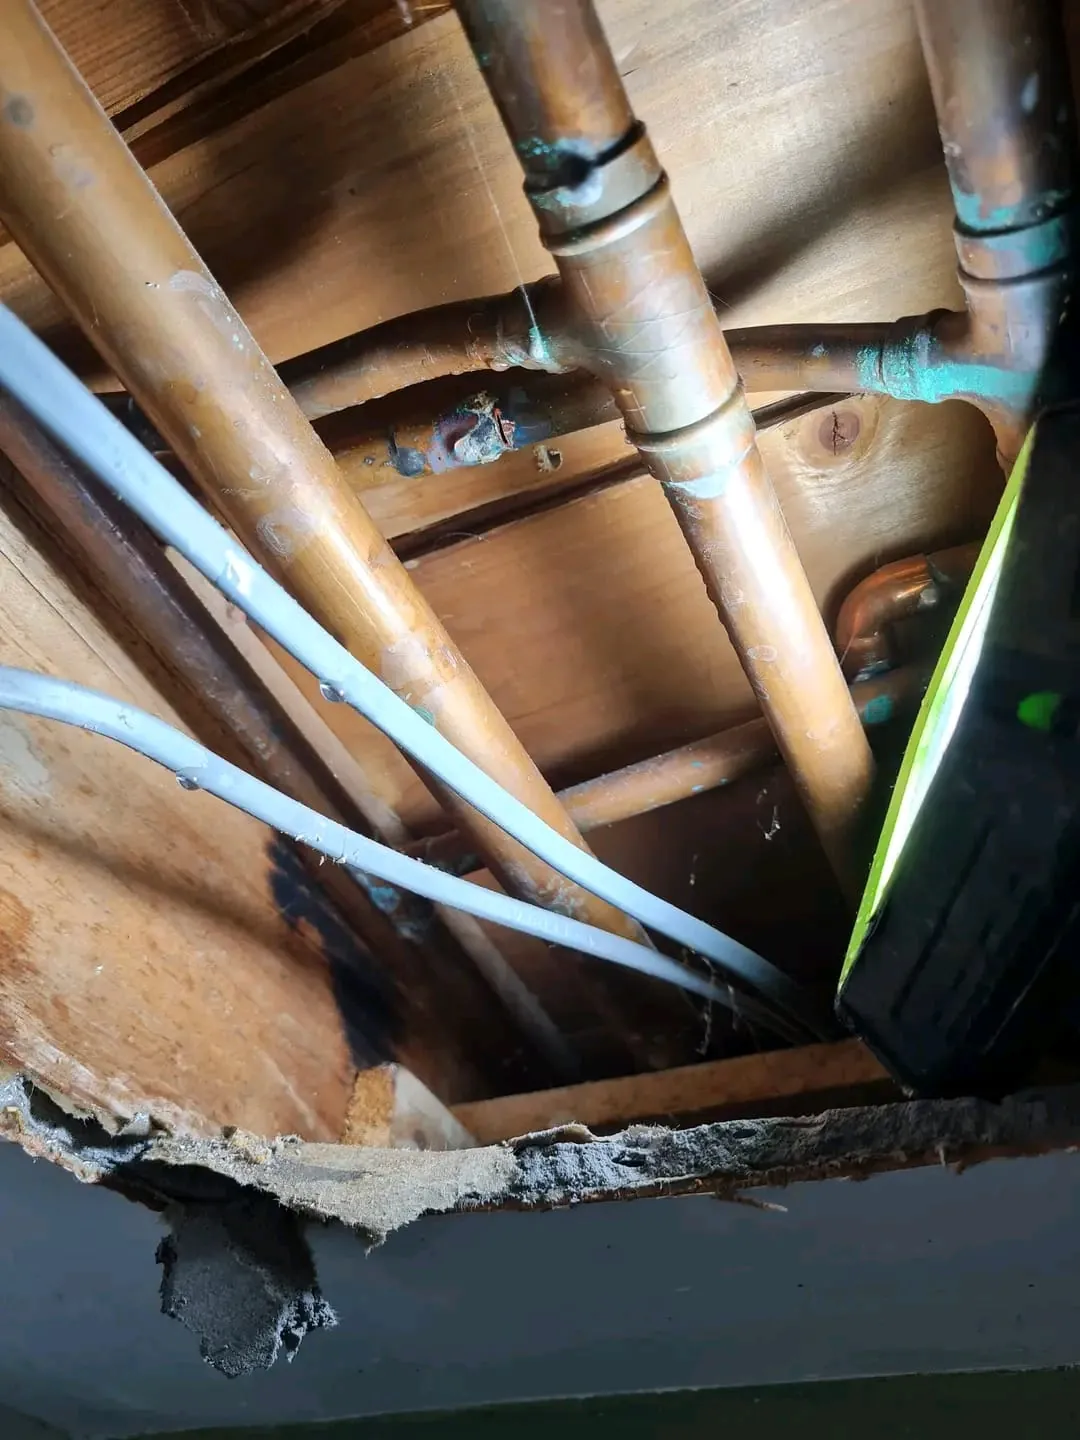
Slides into a small access hole to show us the inside of the pipe run. We use it to judge how far corrosion or joint damage extends.
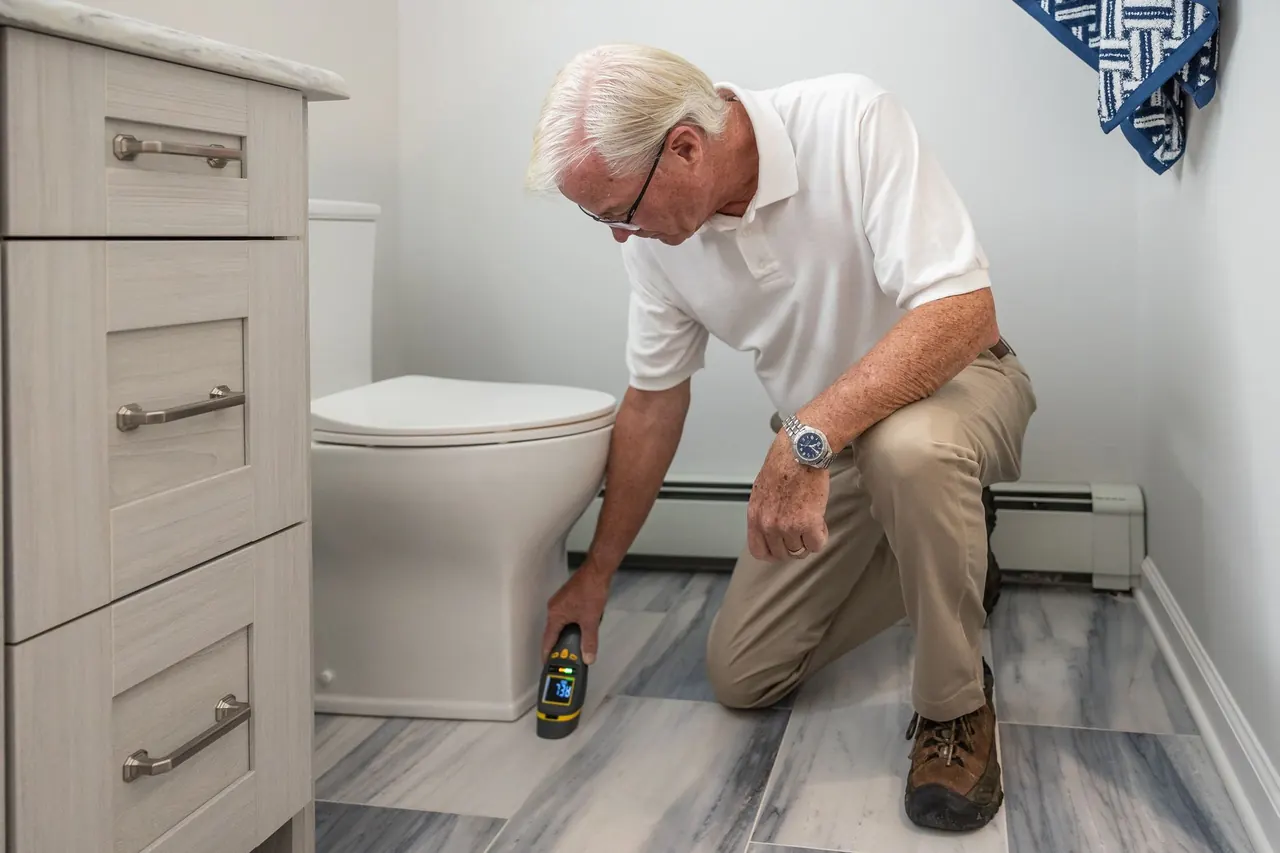
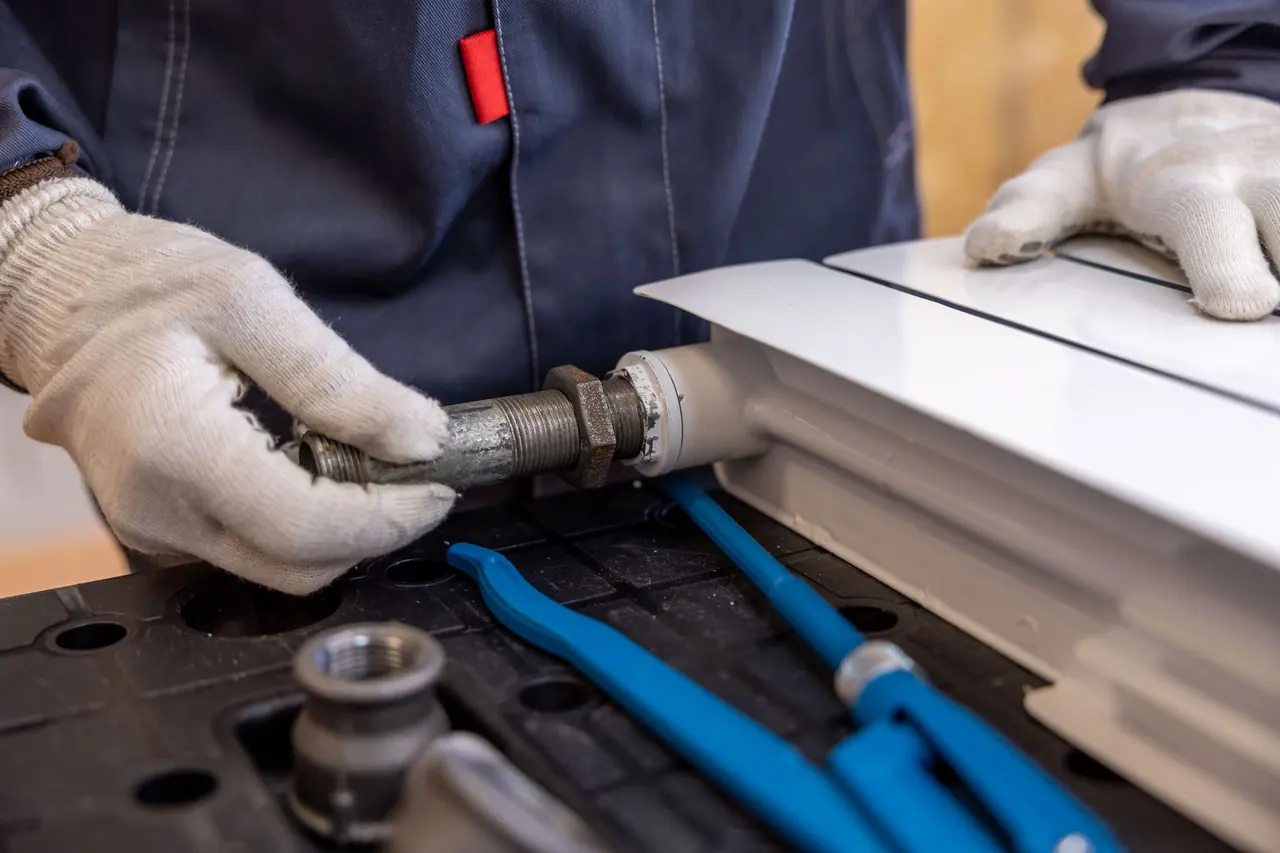
Cuts and joins copper and PEX cleanly with no open flame in tight ceiling spaces. Faster and safer than soldering in an attic.

Crimps PEX fittings or solders copper joints, depending on the material we install. Both are used to code and pressure-tested afterward.
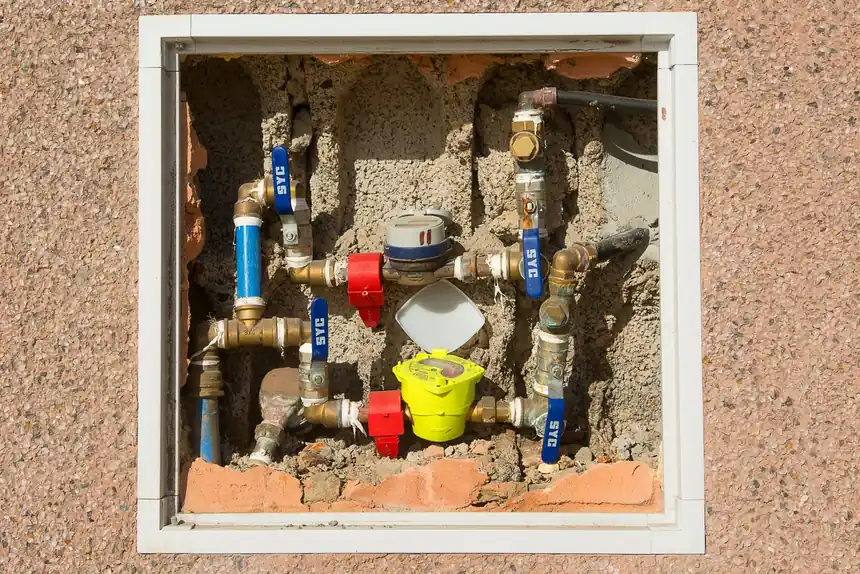
Measures how far the wet zone extends and opens a clean access panel. Keeps the repair contained to the area that actually needs work.
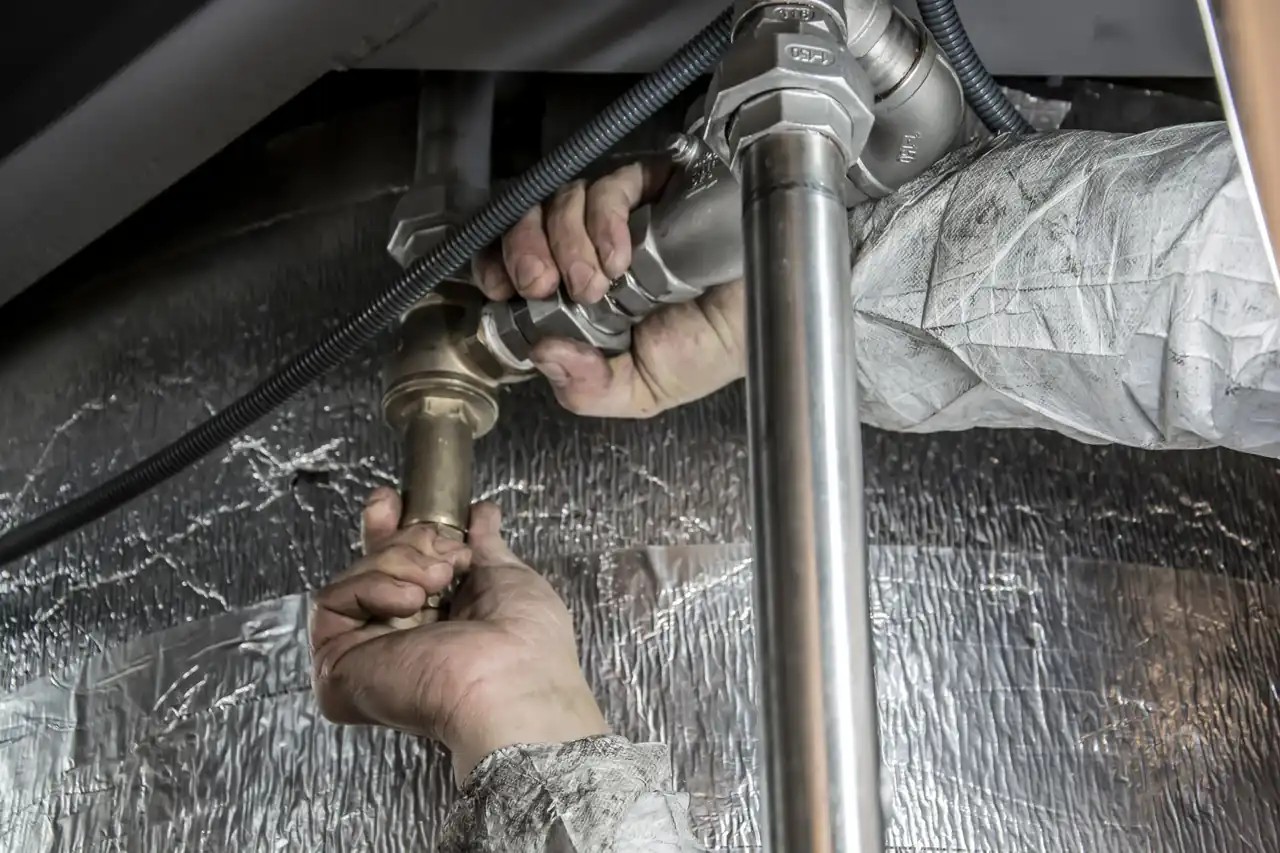
We size, support, and protect every new pipe run to UPC standards. That includes proper hangers, insulation, and clearance from heat sources. Code-correct work passes inspection and protects you at resale.

Ceiling penetrations and access panels are closed to Florida Building Code. We use materials rated for the attic environment and seal the opening against air and moisture intrusion.
We inspect the full pipe run above the stain with a borescope camera. If corrosion runs past the visible leak, we replace the whole section instead of patching one spot. The job usually takes one day. No more repeat stains, no more drywall patches, and a ceiling you can stop worrying about.
We use acoustic leak detection and a thermal imaging camera to locate the hidden pipe leak. Once confirmed, we replace the failed section and verify the meter stops spinning before we leave. Your water usage drops back to normal within one billing cycle, and you have documentation of the repair.
We shut off the water, contain the leak, and cut out the burst section. New copper or PEX goes in the same day, and we pressure-test at 100 PSI before closing the ceiling. Water is back on the same day, the ceiling is dry, and the failed pipe is gone.
We provide a written scope, photos of the repair, and a pressure-test record. The work is done to Uniform Plumbing Code and Florida Building Code so it clears a re-inspection. A documented repair that keeps the sale on track and answers the buyer's inspector.
Fort Pierce sits on the Indian River, and the salt air is hard on copper pipe. We see more external corrosion here than inland crews do, especially in homes within a mile of the water. Summer attic temperatures regularly hit 130 degrees, which stresses older CPVC fittings until they crack. Many of the homes we work in were built between 1955 and 1985, so the ceiling pipe is often original. We schedule attic work early in the morning during June through September to keep technicians safe and the job moving. If you need affordable Ceiling Pipe Repiping near me Fort Pierce, we price the job flat before we cut, and we pull a permit when the scope requires one. Winter cold snaps are rare, but when they hit, we see burst pipe calls in Fort Pierce South and along the Okeechobee Road Corridor. We keep PEX and copper on the truck so most replacements finish the same day.
A homeowner in Downtown Fort Pierce had patched a ceiling stain twice in 18 months. The copper pipe above it was pitted along a six-foot run from salt air exposure. Moisture had reached the insulation and the drywall was soft.
We replaced the full six-foot run with new copper, replaced the saturated insulation, and pressure-tested at 100 PSI for 30 minutes. The ceiling was closed with a 12 by 12 access panel. Eight months later, no new stains.
Keep attic humidity in check and check the access panel once a year for any sign of moisture. If you see a new stain, call before patching.
A 1980s home in Fort Pierce South had a slow drip above the hallway. The water bill was up $60 a month. The CPVC joint had cracked from heat stress, and two nearby fittings showed the same hairline cracks.
We replaced the failed joint and the two stressed fittings, then pressure-tested the branch. The water bill returned to normal the next billing cycle. Total job time was five hours.
Watch for weak flow at fixtures on that branch. If pressure drops again, have the line inspected before it fails.
A burst pipe above a kitchen ceiling in the Okeechobee Road Corridor sent water through the drywall during a January freeze. The homeowner shut off the main and called us at 6 a.m.
We arrived within 90 minutes, cut out the burst section, and installed new PEX tubing with SharkBite fittings. The line held 100 PSI on the first test. Water was back on by early afternoon and the ceiling was closed the next day.
Insulate any attic pipe that runs near a vent or exterior wall. During cold snaps, let a faucet drip overnight to keep water moving.
Most ceiling pipe calls start with one of these four problems. We diagnose the cause, fix the pipe, and confirm the leak is gone before we close the ceiling.
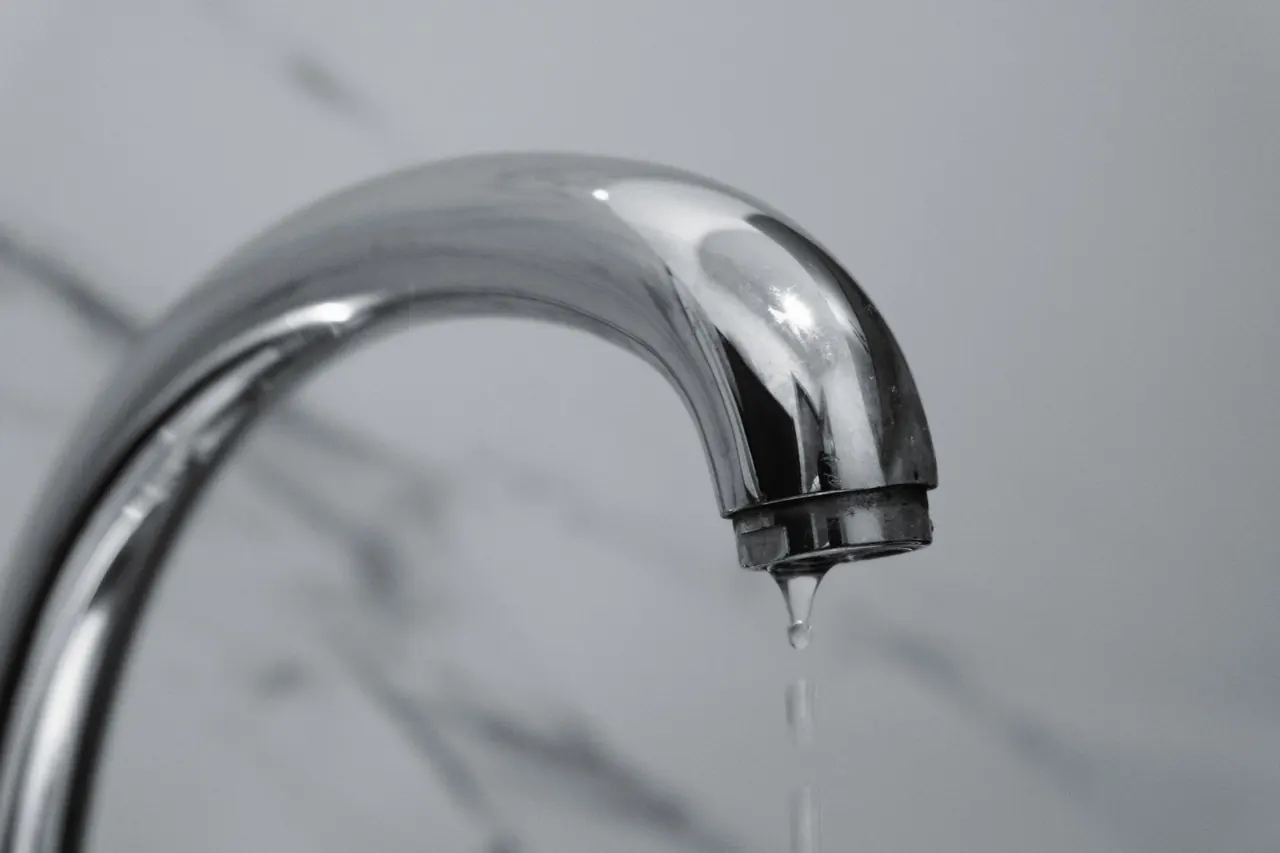
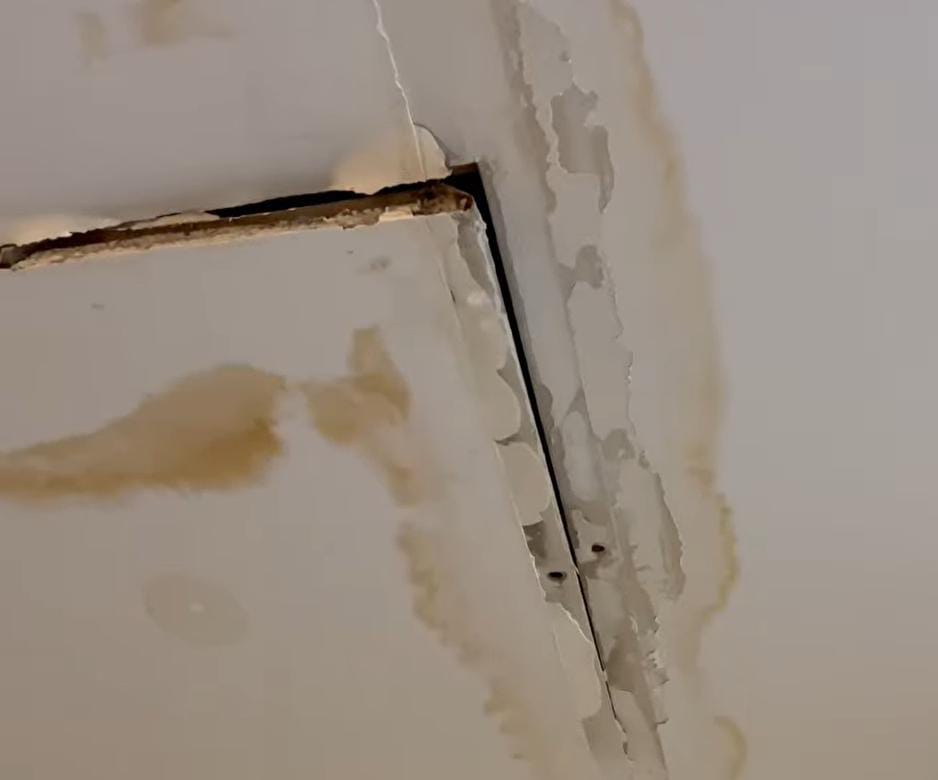
We trace the stain back to the pipe with a moisture meter and borescope camera, replace the failed section, and pressure-test the new line. The stain stops coming back because the source is gone, not covered. Each patch hides the leak while moisture spreads through the drywall and insulation, feeding mold and weakening the ceiling structure.
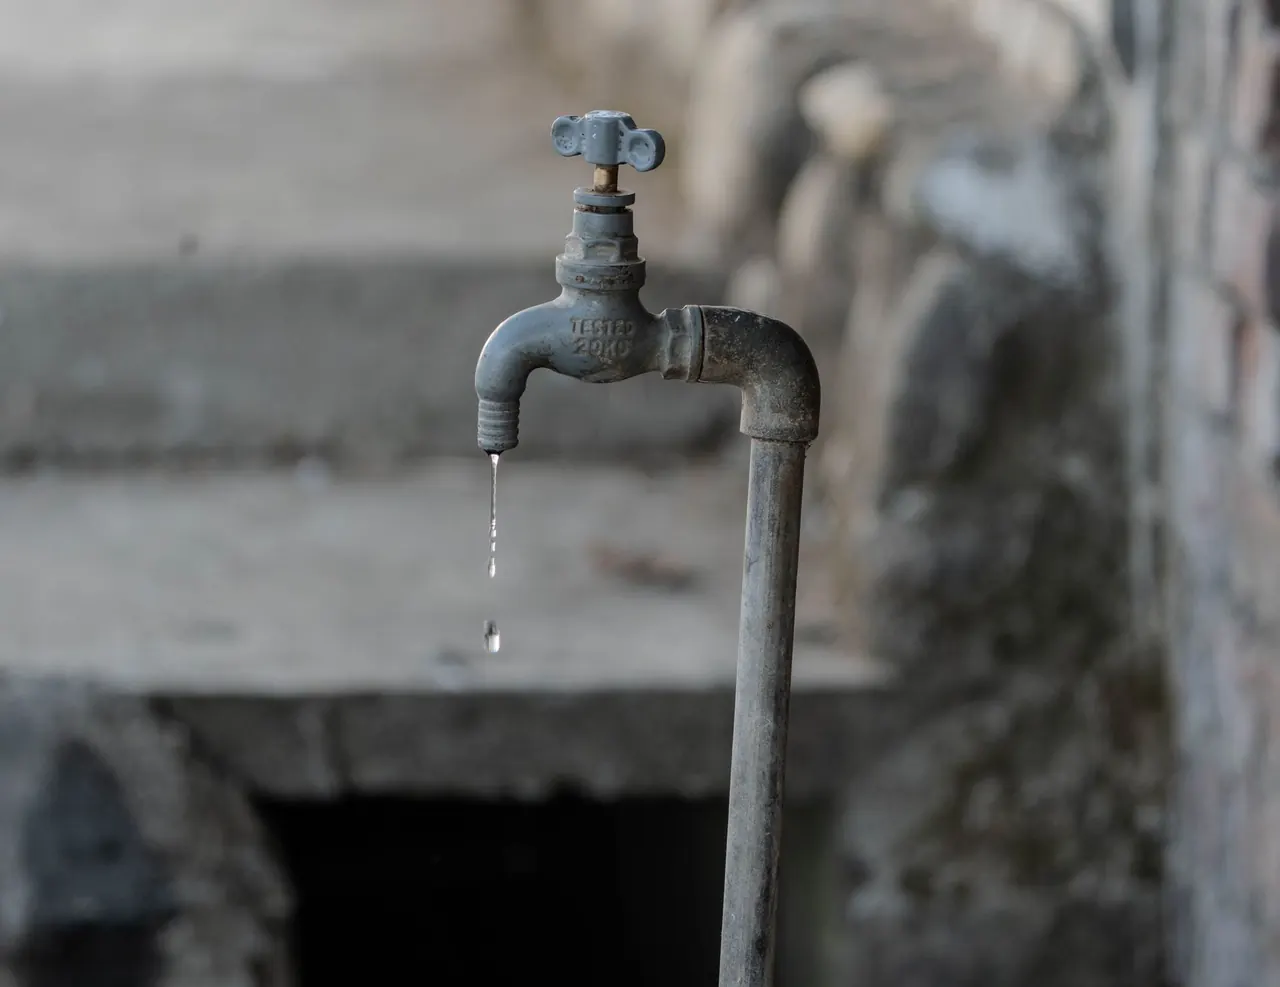
We cut out the corroded run and install new copper or PEX tubing rated for the location. The new pipe is insulated and secured to code, and we document the install with photos. Salt air and attic heat pit copper from the outside in. A corroded pipe can fail without warning and dump water into a bedroom or hallway.
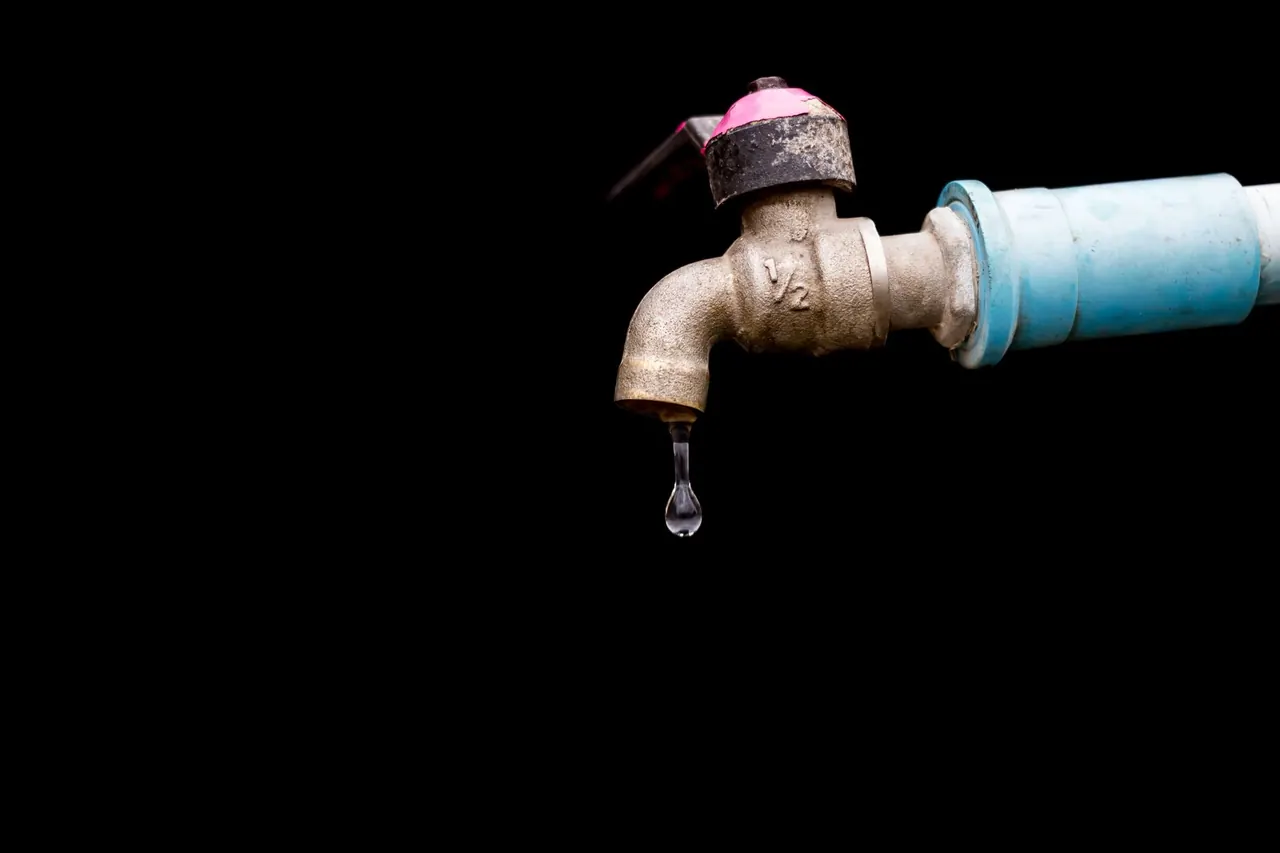
Acoustic leak detection and a thermal imaging camera pinpoint the leak without tearing out the whole ceiling. We replace the failed pipe, verify the meter stops spinning, and show you the before-and-after reading. A pinhole leak can waste 30 to 50 gallons a day. You pay for it every month and never see where it is going until the ceiling gives way.

We replace the failed joint and any saturated insulation, dry the cavity, and pressure-test the line. The attic is left dry and the ceiling is closed with a clean access panel. Wet insulation loses R-value and holds moisture against the drywall. The ceiling stains, the attic smells musty, and the damage keeps growing.
One ceiling water stain usually means the pipe above it has been seeping for weeks. We replace the full failed run, not just the visible pinhole, so you are not cutting the same drywall open again next year. Most customers see zero new stains after the repair.
A hidden pipe leak can waste 30 to 50 gallons a day. That shows up as a $40 to $90 jump on your monthly bill. Once we replace the pipe and verify the meter stops spinning, your usage drops back to normal within one billing cycle.
Wet insulation loses its R-value and holds moisture against the drywall. We remove the saturated section, replace the pipe, and let the cavity dry before we close it. That prevents mold from ceiling leak damage and keeps your attic working the way it should.
Corroded pipe narrows from the inside. You notice it as weak shower pressure or a toilet that takes forever to refill. New copper or PEX tubing restores full flow to every fixture on that branch line, usually the same day.
Ceiling pipe replacement in Fort Pierce runs $450 to $1,800 in 2026 for most homes. The low end covers a single accessible joint or a short section of pipe. The high end covers a full branch replacement above a finished ceiling with texture and paint. We give you a flat price before we cut, and we tell you if a repair is a better call than a replacement. There are no hourly surprises.
What your estimate is based on
$450 - $1,800 depending on scope Replacing the failed pipe ends the cycle of ceiling stains, mold, and emergency calls. Most customers spend less over two years than they would patching drywall and paying higher water bills.
Clear records you can keep and share.
Photos and price before we cut
100 PSI reading in writing
Drywall closed and textured
A single pinhole on sound pipe can be repaired. A corroded run or a second failure on the same line usually means replacement is the better call.
Copper past 40 years in salt air is often pitted inside. Replacing the full run costs more upfront but ends repeat leaks.
One leak on a newer line is usually a repair. Two or more on the same branch means the pipe is failing along its length.
We inspect the inside of the pipe with a camera. If corrosion runs past the visible leak, we replace the section instead of patching it.
Outside these areas? Call us and we will let you know if we can help. (772) 262-4590
Most ceiling pipe replacements in Fort Pierce run $450 to $1,800 in 2026, depending on how much pipe is replaced and how hard it is to reach. A single failed joint on an accessible line sits at the low end. A full branch replacement above a finished ceiling with texture and paint runs higher. We give you a flat price before we cut.
Yes, if the pipe has failed more than once or you see corrosion along the run. Patching one pinhole on a 40-year-old copper line usually means another leak within 18 months. Replacing the full branch costs more upfront but ends the cycle of ceiling stains, mold, and emergency calls. Most customers break even within two years.
A typical ceiling pipe replacement takes four to eight hours from shutoff to pressure test. Small jobs with easy attic access finish in half a day. Larger runs above a finished ceiling, or jobs that need a permit inspection, can run into a second day. We tell you the timeline before we start.
Look for a Florida Licensed Plumber with ceiling and attic experience, not just general repair. Ask whether they pressure-test the new line, whether they replace the full failed section, and whether they warranty the work. We have been doing this in St. Lucie County since 2011 and can show you photos of past jobs.
We are a Florida Licensed Plumber with 15 years in St. Lucie County. Call (772) 262-4590 and we will confirm your leak, give you a flat price, and get your ceiling dry. Same-day service available.
Reach out for fast, friendly service. Call us at (772) 262-4590 or email info@aquacrestplumbing.com to schedule your ceiling pipe leak repair. We answer calls 24/7 for emergencies and offer same-day appointments across Fort Pierce and St. Lucie County.